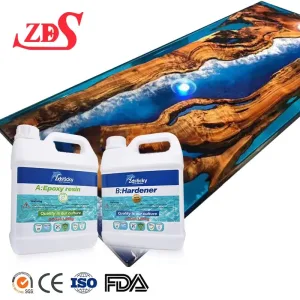
DIY UV Resin
DIY UV Resin - Unleash Your Creativity with Hard, Dominating, and Colorful DIY UV Kit
At the same time, we also support OEM, ODM, and OBM orders.
Product Information:
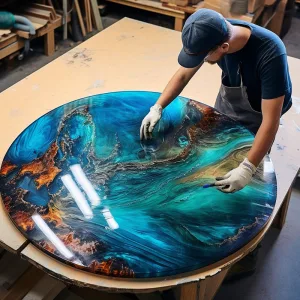
Hard DIY UV Resin
Our hard DIY UV resin is designed to provide excellent durability and strength. It is ideal for creating sturdy and long-lasting resin projects.
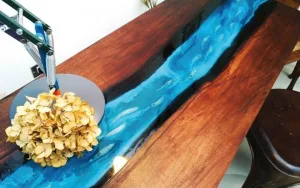
Dominating DIY UV Resin
For those looking to add a touch of elegance and sophistication to their creations, our dominating DIY UV resin is the perfect choice. It offers exceptional clarity and a high-gloss finish.
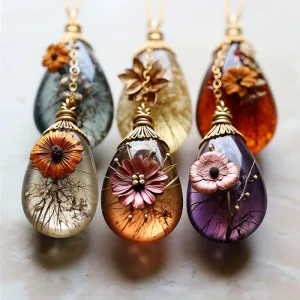
Colorful DIY UV Kit
Bring vibrant and eye-catching colors to your resin art with our colorful DIY UV kit. This kit includes a variety of pigments and dyes, allowing you to create beautiful and unique resin pieces.
| Model | Viscosity | Application range | Advantage |
| ZDS8106A | Medium Viscosity | Clear Hard DIY UV Resin | Fast curing, yellowing resistance for 10 years, excellent color development, easy operation, and low odor. |
| ZDS8106C | Low Viscosity | ||
| ZDS8106N | High Viscosity | ||
| ZDS817B | High Viscosity | DIP DIY application | |
| ZDS8105B | Medium viscosity | Clear Dominating DIY UV Resin | |
| ZDS8107A | Medium viscosity | Colorful Hard DIY UV Resin | |
| ZDS8106B | Medium viscosity | Colorful Dominating DIY UV Resin |
Our DIY UV resin products have undergone extensive formula improvements. With our excellent photoinitiators, you can achieve better curing results. Whether you’re working with colored UV or clear UV resin, rest assured that our products are anti-yellowing for at least 10 years.
In addition to their impressive performance, our DIY UV resins are easy to operate and have a low odor. They are also friendly to the human body and have FDA certification, ensuring safety and peace of mind for your crafting endeavors.
Furthermore, if you have specific requirements or wish to customize our DIY UV resins, we offer support for OEM, ODM, and OBM orders. This allows you to tailor our products to meet your unique needs.
Choose ZDS™ DIY UV resin and unlock endless possibilities for your creative projects. Create stunning and long-lasting resin art with our hard, dominating, and colorful DIY UV kit options.